- English
- Español
- Português
- русский
- Français
- 日本語
- Deutsch
- tiếng Việt
- Italiano
- Nederlands
- ภาษาไทย
- Polski
- 한국어
- Svenska
- magyar
- Malay
- বাংলা ভাষার
- Dansk
- Suomi
- हिन्दी
- Pilipino
- Türkçe
- Gaeilge
- العربية
- Indonesia
- Norsk
- تمل
- český
- ελληνικά
- український
- Javanese
- فارسی
- தமிழ்
- తెలుగు
- नेपाली
- Burmese
- български
- ລາວ
- Latine
- Қазақша
- Euskal
- Azərbaycan
- Slovenský jazyk
- Македонски
- Lietuvos
- Eesti Keel
- Română
- Slovenski
- मराठी
- Srpski језик
Wiring diagram and method for imported electric actuators
2023-05-15
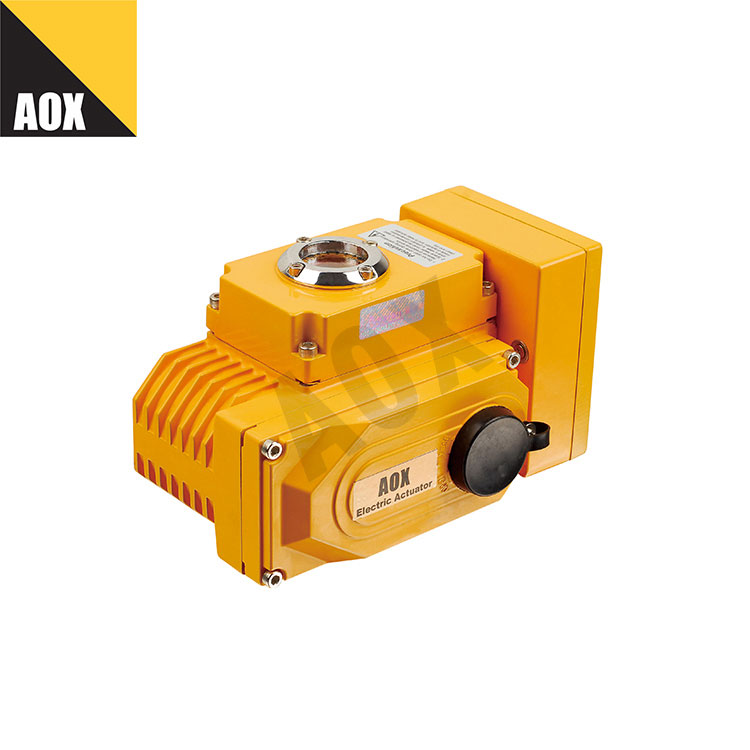
An also known as an electric actuator, is a driving device that can provide linear or rotational motion. It utilizes a certain driving energy source and operates under a certain control signal. The actuator uses liquid, gas, electricity, or other energy sources and converts them into driving force through motors, cylinders, or other devices. There are three basic types of drive: Part Turn, Multi Turn, and Linear.
Imported electric actuators, as important actuators in industrial automation control systems, can be remotely and centrally controlled to meet the needs of computer programming; Electric actuators can be widely used in various valves to achieve remote and intelligent control.
For example, the VTON01 imported electric actuator brand is used to control valves that rotate from 0 ° to 270 ° and other similar products, such as butterfly valves, ball valves, dampers, plug valves, louver valves, etc. It can be widely used in various industries such as petroleum, chemical, water treatment, shipbuilding, papermaking, power plants, heating, light industry, etc. It uses a 380V/220V/110V AC power supply as the driving power, and a 4-20mA current signal or a 0-10V DC voltage signal as the control signal. It can move the valve to the desired position and achieve automatic control, with a maximum output torque of 4000N · m.
However, electric actuators are different from manual valves, as they involve parameter setting and debugging, as well as electrical wiring, which requires more professional personnel to complete.

Electrical wiring
1. Electrical wiring
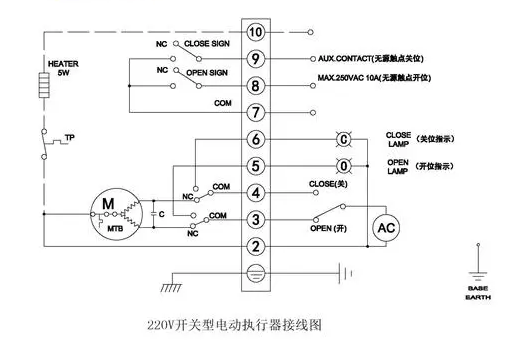
There is a wiring diagram inside the actuator (inside the electrical compartment cover).
Wire according to the provided wiring diagram, such as power supply, control power supply, internal wiring, and grounding.
If necessary, connect an external power supply to the dryer to keep the interior of the actuator dry.
Ensure that the wiring of the terminals is secure.
Ensure that an external controller only works on one imported electric actuator of the American Weidun VTON brand (cannot work on two or more actuators at the same time).
After wiring, ensure that the interior of the actuator is clean and free of debris.
2. Check the direction of rotation
In three-phase actuators, the operator should check the rotation direction of the actuator before electric operation.
If the running direction is incorrect, the limit switch will not function, resulting in jamming and damage or overheating of the motor.
Manually place the actuator in the 50% open (or closed) position, supply power to the actuator, and confirm the direction of rotation.
If an open signal is given and the actuator rotates in the open direction, the direction is correct. But if the direction is reversed, it is necessary to change the wiring and exchange any 2 of the 3 power lines.
Check the direction of rotation again and confirm.
Settings
(1) Manual operation
Pull the clutch handle towards the handwheel until the handle is vertical.
If the handle is not upright, pull again and slowly turn the handwheel.
Clockwise represents the closing direction and counterclockwise represents the opening direction.
When the electric actuator is powered on for operation, it is not necessary to return the handle to its original position.
After the actuator is powered on, do not perform manual operation. The handle will automatically return to its original position from the internal clutch mechanism.
(2) Limit switch setting
Pull the handle for manual operation, rotate the handwheel to move the actuator to its original position.
Loosen the cam fixing bolt with a wrench and rotate the cam to the desired adjustment angle, then tighten the bolt again. (Field debugging shall be adjusted according to the actual needs of the valve)
(3) Torque switch
The torque switch is already set before leaving the factory, and users do not need to set this switch again.
Attention: The switch has been reset by the user, and our company cannot guarantee its performance.
(4) Setting of stop bolts
When the error exceeds 5 °, the stop bolt needs to be readjusted for setting.
Set the timing, withdraw the stop bolt by 2 turns appropriately, and then tighten the nut.
(5) Indicator setting
(Generally, imported electric actuators of imported electric actuator brands have been set at the factory and do not need to be reset)
Run the actuator to the fully closed position and rotate it by hand,
Align the direction with the number on the mirror.
Tighten the bolts (be careful not to be hit by the edges of the indicator panel).
(6) Wiring precautions
The cable interface is G3/4 ″ screw hole, which is sealed with a plug before leaving the factory.
If the user does not use both cable connectors, please keep the plugs in place.
Please make sure to seal the interface after wiring to prevent water ingress.
If the user uses an explosion-proof actuator, be sure to use qualified connection components at least of the same level as the actuator.


